
June 16, 2026
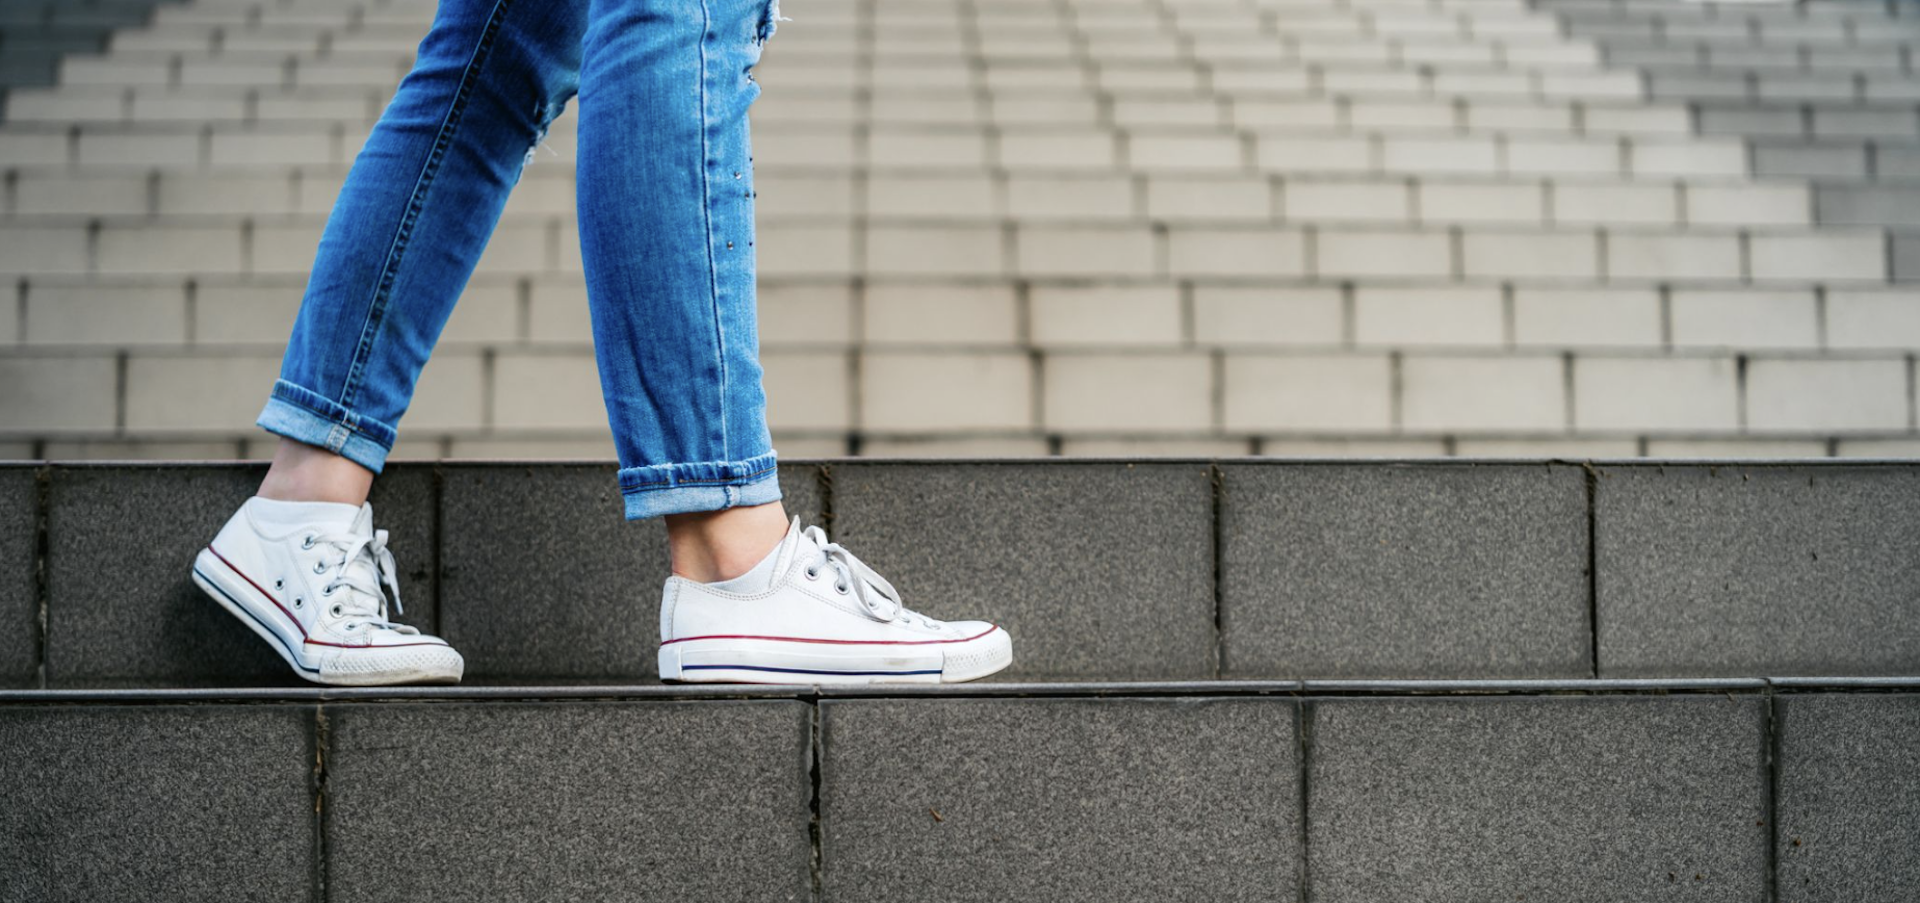
There’s something about a clean pair of white sneakers that just works. They go with everything, they never really go out of style and they have a way of pulling an outfit together without trying too hard. The only catch? White shoes show every scuff, every grass stain and every mystery mark from a parking lot you don’t remember walking through.
Here’s what a lot of people don’t realize: you don’t need to buy a new pair every time yours start looking rough. With a few common household products and a little patience, you can restore white sneakers to something close to their original glory, and if you picked them up at Goodwill of Central and Northern Arizona, you’ve already started ahead by spending a fraction of retail price.
This guide walks you through everything you need to know to clean, refresh and maintain white sneakers at home.
Before we get into the cleaning, let’s talk about the find itself. White sneakers are one of the better secondhand shoe categories to shop. Styles don’t date quickly; they’re often donated in gently used condition, and the most common issue, surface dirt and light scuffing, is almost always fixable with a good cleaning.
Goodwill of Central and Northern Arizona locations carry a rotating selection of footwear, and white sneakers turn up regularly enough that it’s worth keeping an eye out on your next visit. Pair a lucky find with the cleaning method below, and you’ve got a “new-to-you” pair that looks the part without the new-shoe price tag.
No special products required. Most of this is already in your kitchen or bathroom:
Start by taking out the laces–they need to be cleaned separately and they’ll just get in the way. Soak them in warm water with a drop of dish soap while you work on the shoes.
Before applying anything wet, tap the soles together or use a dry brush to knock off any loose dirt, mud or debris. Cleaning wet grime into the fabric makes things worse, not better, so this step matters more than it sounds.
For most white sneakers, a simple paste of baking soda and dish soap gets the job done. Mix roughly one tablespoon of baking soda with a small squeeze of dish soap and enough warm water to make a spreadable paste. This combination is gentle enough for canvas and mesh but effective enough to lift everyday stains and grime.
If you’re working on a pair with noticeable yellowing, a common issue with older or stored shoes, swap the dish soap for a small amount of hydrogen peroxide. Mix one tablespoon of baking soda with one tablespoon of hydrogen peroxide and apply carefully. This combo can brighten white fabric noticeably, but skip it on any colored panels since it may cause fading.
Dip your toothbrush into the paste and work in small circular motions across the fabric. Don’t scrub too aggressively on mesh or knit uppers; gentle pressure applied consistently works better than force. Pay extra attention to the toe box, sides, and any areas with visible staining.
For scuff marks or synthetic panels, a slightly damp cloth with a small amount of dish soap usually does the trick.
Let the paste sit on the shoe for five to ten minutes before wiping it away. This gives the baking soda time to work into the stain rather than just sitting on top of it.
The rubber soles and midsoles are often the grimiest part and, honestly, the easiest to fix. A magic eraser works surprisingly well here; dampen it slightly and run it along the rubber edges. Scuffs and gray buildup lift quickly with minimal effort.
For deeper grime in the grooves of the outsole, use the toothbrush with your cleaning paste and scrub in short strokes. Rinse with a damp cloth and repeat if needed.
Wipe down the entire shoe with a clean, damp cloth to remove any leftover paste or soap residue. Avoid rinsing directly under running water–too much moisture can warp the shape or cause the glue in older shoes to weaken.
Stuff the sneakers loosely with paper towels or a clean cloth to help them hold their shape as they dry, then set them in a well-ventilated spot out of direct sunlight. Direct sun can cause white fabric to yellow as it dries, which is the opposite of what you’re going for.
Laces can be wrung out and air-dried separately.
Once your sneakers are looking fresh, a few simple habits help them stay that way. Wipe them down after wear rather than waiting for dirt to build up. Rotate them with other shoes so they’re not absorbing daily wear alone. And store them somewhere dry; humidity is hard on white fabric over time.
For secondhand shoe care specifically, a quick spritz of shoe deodorizer or a light wipe-down with a diluted white vinegar solution can address any lingering odor before your first wear. It’s a small step that makes a big difference.
A pair of white sneakers doesn’t have to be expensive to look good, and it doesn’t have to look worn just because it has some miles on it. With supplies you likely already own and a little time, you can take a thrifted find from tired to fresh without spending much at all.
Next time you’re at Goodwill of Central and Northern Arizona, don’t overlook the shoe section. The right pair might just need a little attention to look exactly like what you were hoping to find.

March 15, 2022
Summer is a great time to make a little scratch money with a part-time job, which can be put toward anything from tuition to a beach vacation. It’s also a […]

August 5, 2021
Looking for a new job? Goodwill hosts a variety of hiring events and job fairs to help you build your career.

February 21, 2022
When you’re looking for a job, it can be easy to get caught up in your technical achievements. Whether it’s how many products you’ve sold in a given month or […]